Introduction:
In this post we will be looking into different blur algorithms. We will explore how they work and how they can be implemented as well as looking at a few use-cases.
- Why?
Blur effects are varied in their quality and implementation details.
They also have a multitude of uses in different game-related techniques beyond simple image processing.
This makes them perfect candidates for study and a really valuable addition to ones toolkit as a graphics programmer.
They are also really fun to implement as an exercise in writing efficient shaders 🙂 - Where?
Depth-of-field, light bloom (aka. fake HDR), light shafts (aka. god-rays), frosted glass materials, soft-shadows, and many other visual tricks use blurring as their basis. - What?
Blurring can be thought of as a simple averaging of values.
To blur an image you simply have to mix the colour of each pixel with its surrounding pixels.
There are many ways to achieve this, each of which will give a different look (thus fulfilling a different use-case).
Part 1 – What the blur?
Let’s start by looking at a very simple example. We will take a simple average of a pixel and all its neighbours:
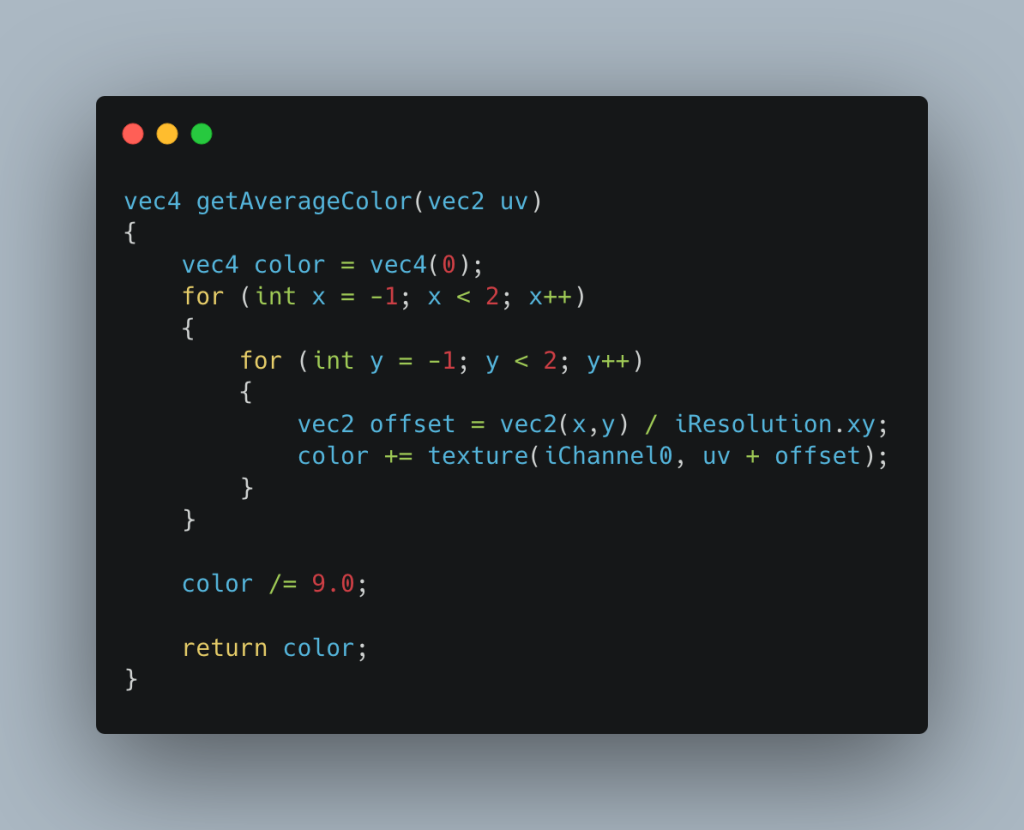
We get the colour of the current pixel as well as its 8 surrounding neighbours, then simply add up all of the colour values together and divide the result by 9 to get the average (9 because we are sampling a 3×3 pixel area and we want a simple average of those 9 pixels).
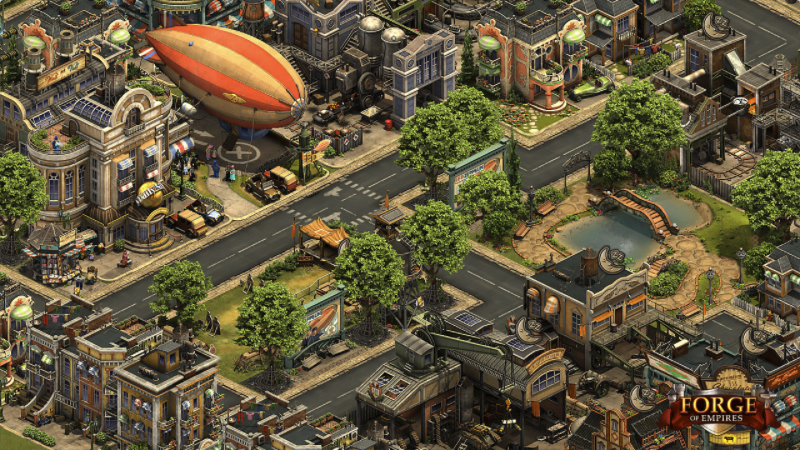
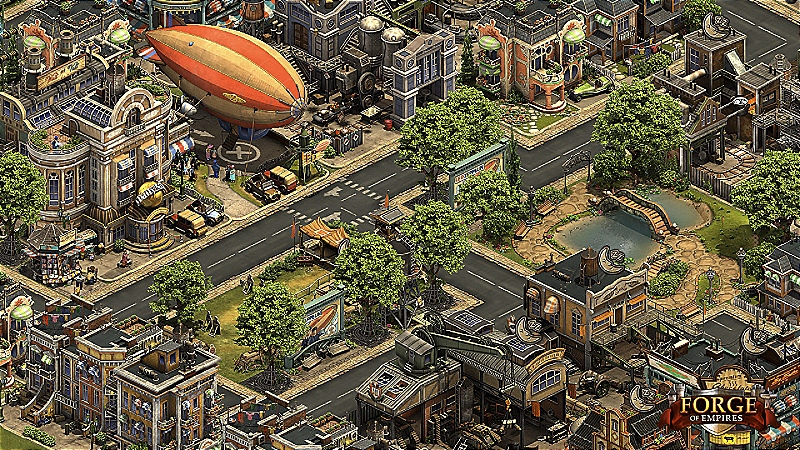
If we apply this process to every pixel of the image, the resulting output will be a somewhat blurry copy of the original.
| Original image | Blurred output |
|---|---|
Part 2 – Convolution kernels
In image processing there is a fairly simple method known as convolution (related to the mathematical concept https://en.wikipedia.org/wiki/Convolution) which can be used to efficiently implement certain types of visual effects.
“Convolution is the process of adding each element of the image to its local neighbours, weighted by the kernel.” https://en.wikipedia.org/wiki/Kernel_(image_processing)
What we have actually done with the blur above is to convolute the original image with a kernel with a size of 3×3 pixels:
| Identity (original image) | Kernel weights |
|---|---|
 |  |
| Box Blur | Kernel weights |
|---|---|
 | 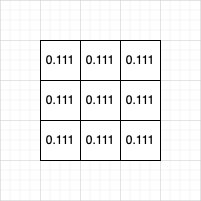 |
In this kernel each pixel was given an equal weighting (1/9 of the total sum gives a weight of 0.111 for each pixel), however we can modify our kernel to hold different values in order to achieve rather different visual effects.
For instance we could rewrite our code to use a kernel which is passed in from the outside as the weighting for each contributing pixel.
This technique is well suited to implementations using fragment shaders as the values for a 3×3 kernel fit perfectly in a 3×3 matrix:
| Simple 3×3 convolution kernels shader example |
|---|
| https://www.shadertoy.com/view/fd3Szs |
Note: The kernel can of course be of a larger size (5×5, 7×7 etc) but I have stuck with 3×3 ones here for clarity. The process and values are otherwise the same when using a larger kernel.
Also note how the identity kernel looks and how in most of the kernels the total sum of the weights adds up to 1.
If the total value of the weights were to exceed 1 we would get a brighter output image, and conversely a darker output if the kernel weights add up to less than 1 in total.
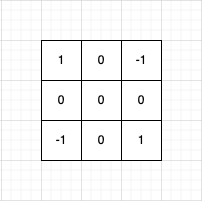
Here are some examples of other effects which can be achieved with different 3×3 convolution kernels:
| Sharpen | Kernel weights |
|---|---|
 | 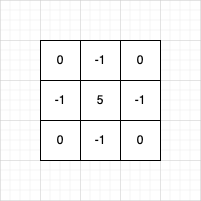 |
| Emboss | Kernel weights |
|---|---|
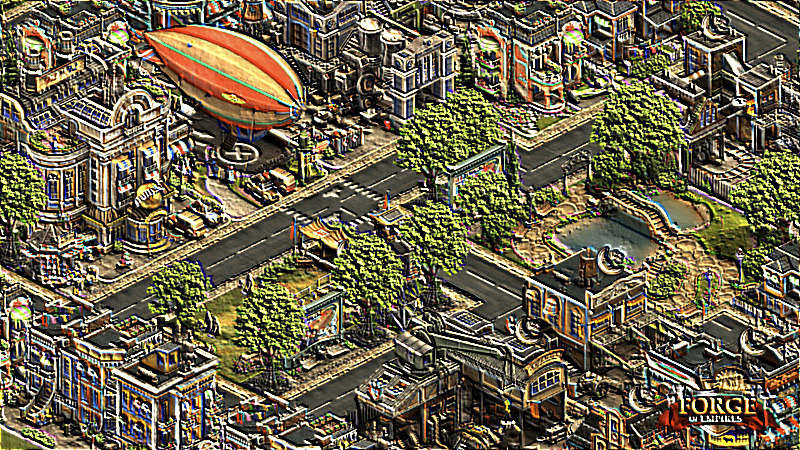 | 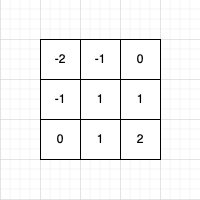 |
| Edge detection | Kernel weights |
|---|---|
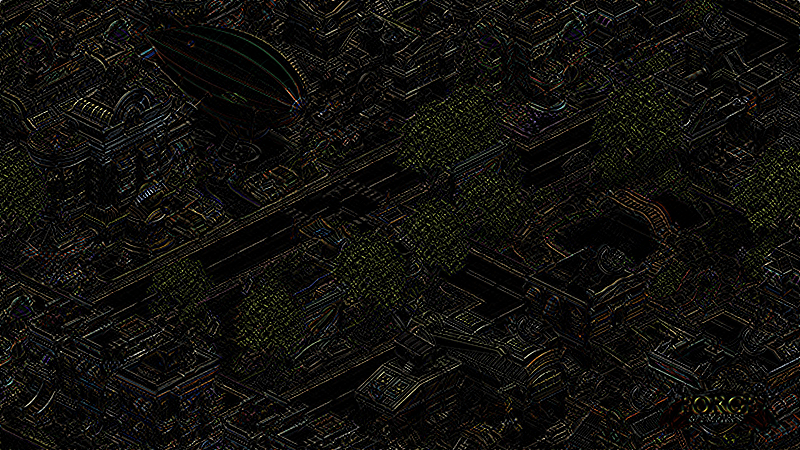 |  |
Part 3 – Types of blurs:
Now that we have looked at the basics of blurring and image convolution let’s take a look at some of the various types of blur algorithms.
Box blur:
Simple to implement, runs pretty fast with small kernel sizes.
On the downside this doesn’t look particularly good and both quality and performance decrease drastically with an increasing blur radius.
The simple 3×3 case is already covered in Part 1, with larger kernels left as an exercise to the reader.
| Simple 3×3 box blur shader example |
|---|
| https://www.shadertoy.com/view/fsK3zc |
Gaussian blur:
Rich man’s blur. Looks really good, not too hard to implement but performance may be tricky if a large blur radius is required.
The idea here is that the kernel weights follow a Gaussian (https://en.wikipedia.org/wiki/Gaussian_function) distribution. A basic 3×3 approximation is already covered in the sample convolution shader in Part 2.
Larger versions could be done with a larger convolution kernel but here we will be looking at another approach.
As the radius of the kernel grows the number of texture samples we need to process grows exponentially:
* For a 3×3 kernel we have to sample 9 texels, 5×5=25 texel fetches, 7×7=49 etc.
This results in drastically decreased performance as texel fetches are a relatively expensive operation.
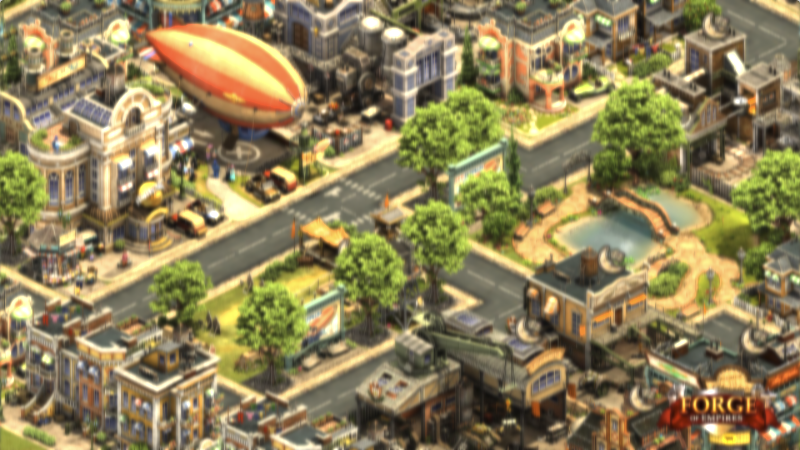
We can approximate the result of the large kernel by separating the process into a horizontal and vertical pass.
The number of texture samples per pass is the “width” of the kernel, with the total number of samples needed increasing linearly:
* For the same 3×3 kernel you would only need 3 fetches on the horizontal pass + 3 on the vertical pass=6 texels, 5x5kernel=5+5=10, 7x7kernel=7+7=14 etc.
| Simple 2-pass Gaussian Blur shader example |
|---|
| https://www.shadertoy.com/view/sl33W4 |
 |
There is a further optimised variant of this which uses the linear texture interpolation we get for free from modern GPU hardware.
The basic idea is to carefully pick the locations at which colours are sampled to fall in between two texels, thus sampling two colour values per each texel fetch.
The actual maths behind the Gaussian distribution and texel interpolation is beyond the scope of this post but is covered extensively for instance here: https://www.rastergrid.com/blog/2010/09/efficient-gaussian-blur-with-linear-sampling/
| Side note: Gaussian blurs are usually the basis for depth-of-field effects (among many others) in modern 3D game renderers. The idea here is that a post-processing pass can be added after the current frame has been rendered, which does the following:Render a blurry copy of the current frame with a Gaussian blurUse the depth map to determine the distance of each rendered pixel to its intended ‘focal point’Interpolate between sharp and blurry images based on the distance to the focal pointIf you want to get really fancy here you could separate the planes in front and behind the focal point into two separate passes. This will help to reduce the amount of visual artefacts around the edges of objects. |
|---|
Directional blur:
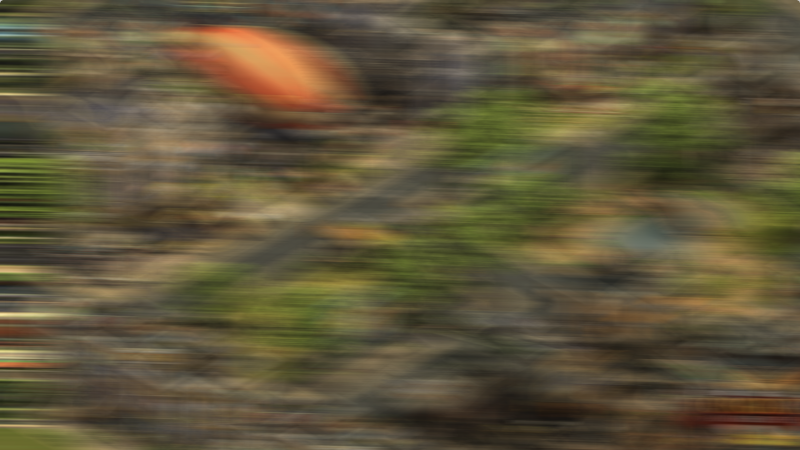
Pretty simple, basis for motion-blur effects.
This is effectively the same thing as we already covered in the 2-pass blur but with an arbitrary direction vector instead of strictly blurring along the horizontal or vertical axes.
| Simple Directional Blur shader example |
|---|
| https://www.shadertoy.com/view/fdBfRw |
 |
To implement motion-blur you can either:
- Output the screen-space velocity of each object to its own buffer during rendering and use those values to guide the directional blur (aka. per-object motion blur)
- Use the direction of the camera motion to blur the entire frame in the same direction (aka. camera motion blur)
Radial blur:
This one can be slightly tricky to implement in an efficient way but can be used for some surprisingly effective visuals when done well.
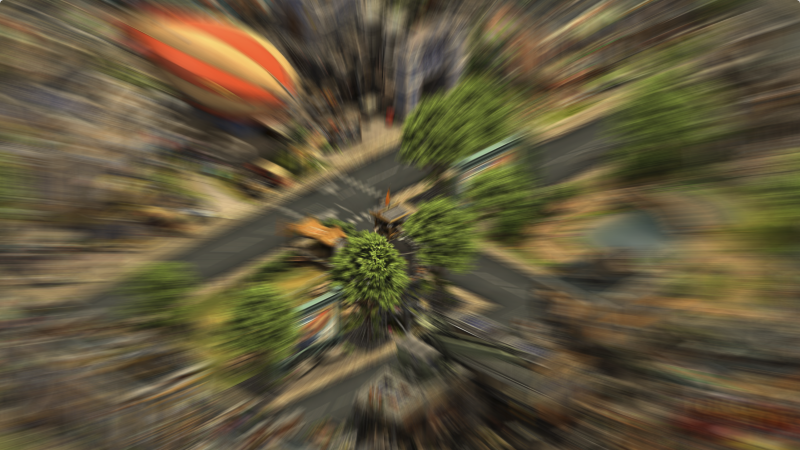
The basic idea is to use a directional blur but instead of a fixed direction we take the direction of the current pixel relative to a central point.
| Simple Radial Blur shader example |
|---|
| https://www.shadertoy.com/view/NdSBzw |
 |
This used to be a staple in racing games as a full-screen post-process effect with the centre of the blur in the middle of the screen.
It’s a fairly cheap way to simulate a sense of speed reasonably well, as the motion on screen mostly lines up with the direction of the blur but more recent titles have moved onto better techniques such as per-object motion-blur.
This is also the basis for effects such as fake volumetric light shafts (aka. God-rays), which can be implemented as follows:
- Render a circle (representing the sun or other light source) onto an all-black off-screen buffer
- Stencil out all the solid geometry in front of the light in black
- Apply a radial blur centred at the middle of the circle rendered in step 1
- Combine the final image additively on top of the 3D scene
| Render pass: | Output: |
|---|---|
| Light circle with solid geometry stencilled out. In this example we assume the light is behind all the foreground geometry, and we can simply use the stencil buffer to first mark all the solid geometry with a particular stencil ID and then skip those pixels when rendering the light circle to an off-screen buffer. On the other hand when using this effect on a point light in a 3D scene, you should use the depth buffer from the scene to properly clip the light circle with the 3d geometry in the scene. You could render the light as an actual sphere however a simple imposter (billboard sprite facing the camera) will work just as well. Note: You could of course improve the look of the effect by rendering a circle with a soft edge, or even use an image instead of a circle for some interesting visual effects. | 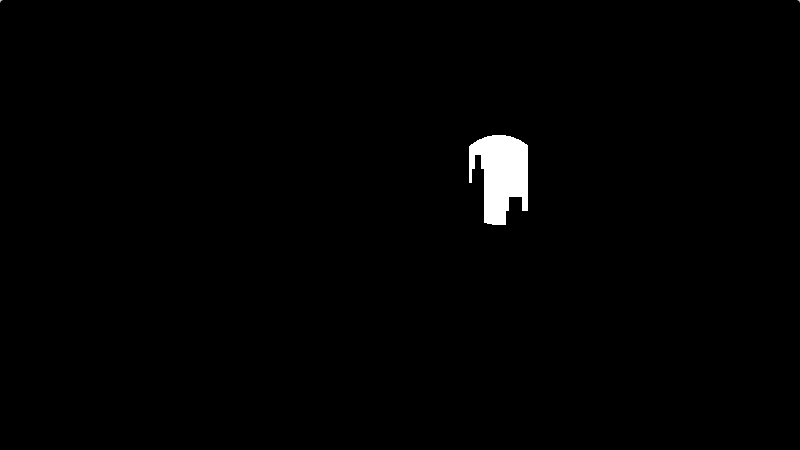 |
| Radial blur applied to stencilled light circle. At this stage simply apply a radial blur with the screen-space centre of the light and render that to another off-screen buffer. | 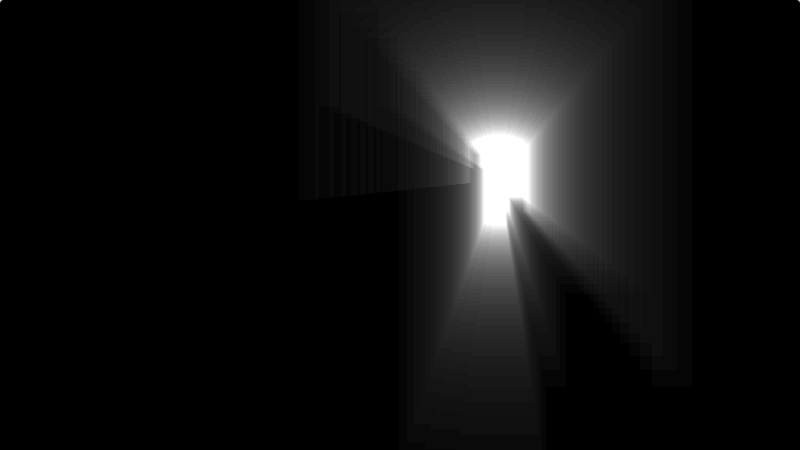 |
| In a final pass combine the light buffer with the final frame-buffer output. Usually this is done with a simple additive blend. | 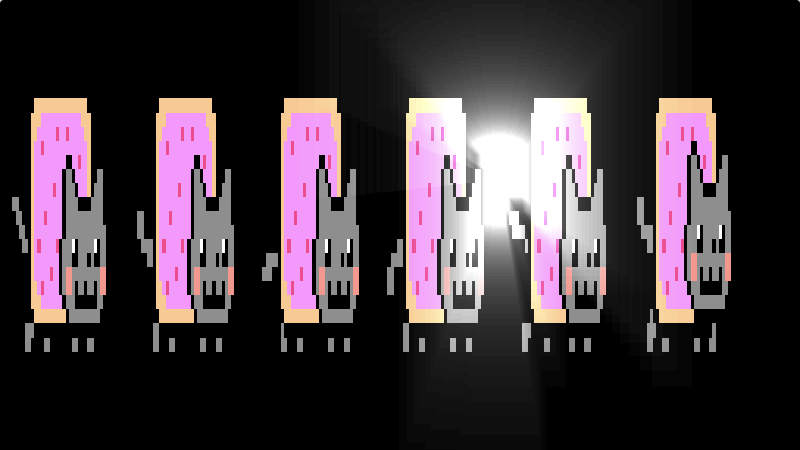 |
| Light Shafts With Radial Blur shader example |
|---|
| https://www.shadertoy.com/view/fd2fWy |
– More reading material on blurring:
https://software.intel.com/content/www/us/en/develop/blogs/an-investigation-of-fast-real-time-gpu-based-image-blur-algorithms.html
https://danielilett.com/2019-05-08-tut1-3-smo-blur/ Unity Box & Gaussian Blur
https://lettier.github.io/3d-game-shaders-for-beginners/blur.html
https://learnopengl.com/Advanced-Lighting/Bloom
https://www.rastergrid.com/blog/2010/09/efficient-gaussian-blur-with-linear-sampling/
- InnoGames is hiring! Check out open positions and join our awesome international team in Hamburg at the certified Great Place to Work®.

